

Step 7: Install PCBAs and test
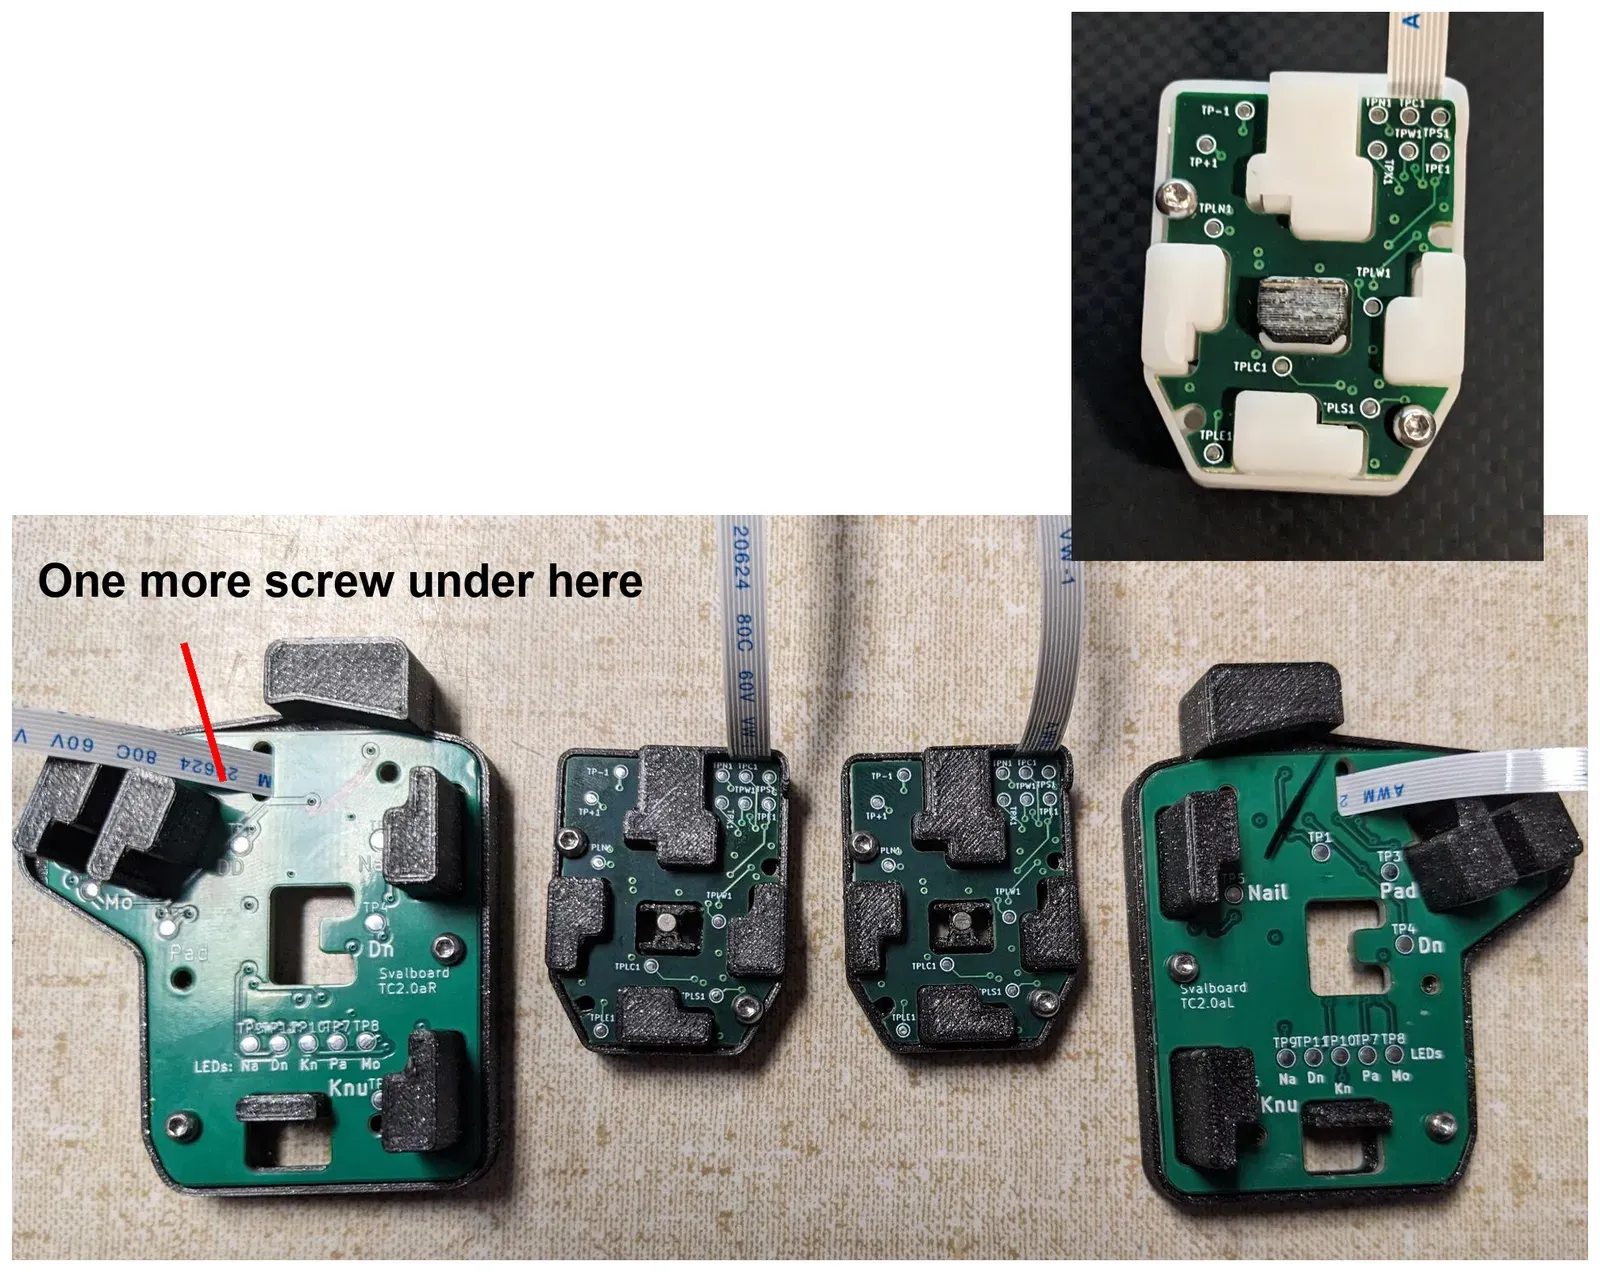
Install the PCBAs
Section titled “Install the PCBAs”- Line each PCBA up squarely with the cluster before you press it in. Installing it at an angle can damage the optical sensors.
- Finger clusters: use just the two screws shown. If one strips, use one of the other two holes.
- Make sure the bottom-left corner of the PCBA is fully seated in the cluster. If it isn’t, the East or South key may not register.
- Thumb clusters: use 3 to 5 screws, as you prefer.
- You don’t need to remove the finger center key to replace a PCBA.
Use the M2 thread-cutting screws.
Insert the square nuts
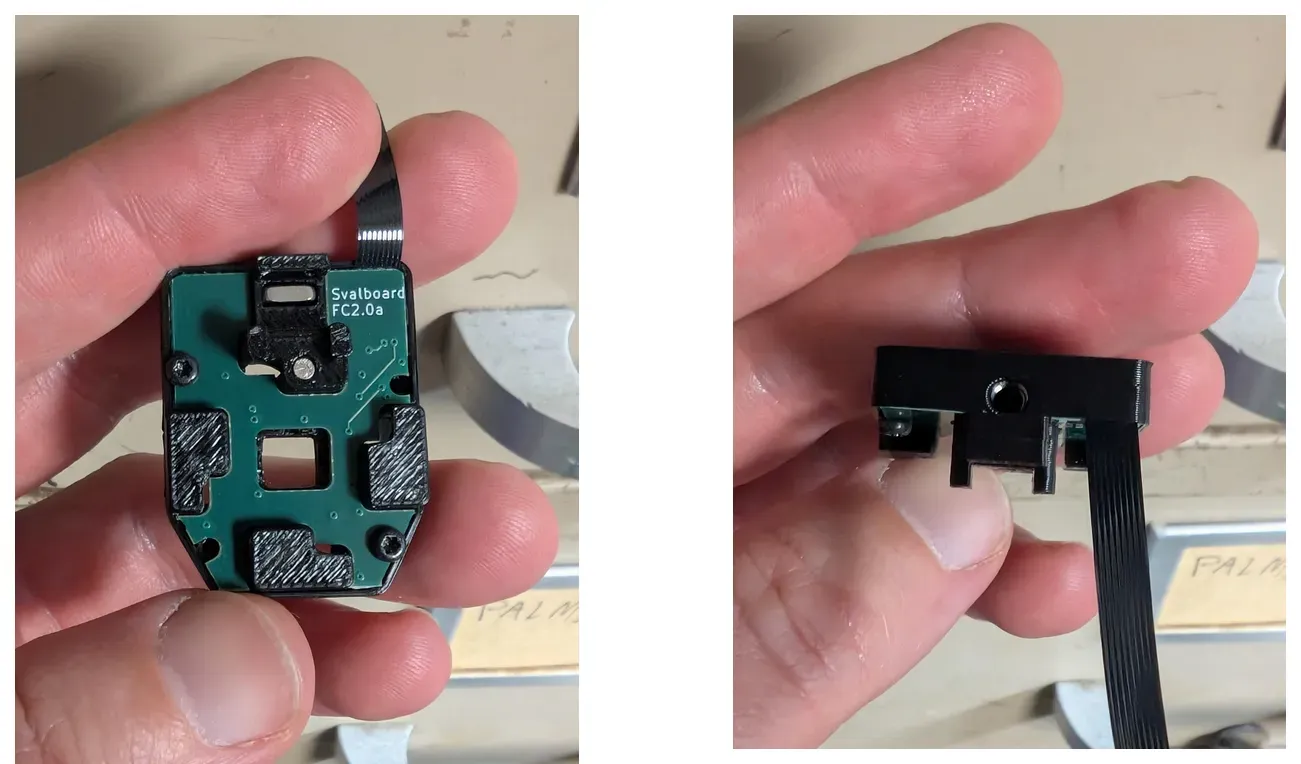
Section titled “Insert the square nuts”A square nut goes in the back underside of each cluster. It’s the fixing point for the tower.
- Place the cluster top side down.
- Line up the nut with small pliers or tweezers.
- Press it straight down into the slot.
Test the clusters (recommended)
Section titled “Test the clusters (recommended)”Test each cluster before final assembly. A bad PCBA is much easier to swap now.
- Connect the cluster FFCs to the MCU: unlatch, insert contacts down, latch.
- Flash the MCU with the blank firmware file for its side:
svalboard_left_blank_vLaunch2.uf2orsvalboard_right_blank_vLaunch2.uf2. The blank layout has no keys assigned, so pressing keys doesn’t type into your computer. For how to flash, see Step 15 and Flashing firmware. - Open Keybard (https://keybard.svalboard.com), choose Connect Keyboard, then Matrix Tester.
- Press every key on the cluster. Check that each one lights up in the Matrix Tester.
- When you’re done, disconnect the FFCs: unlatch, pull the FFC out, latch.
Flash the normal sval firmware in Step 15.